How to Install Modular Decorative Fencing
- Blackbear Essex

- Jun 3
- 2 min read
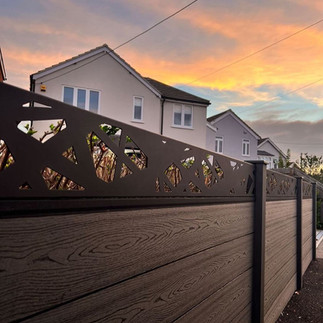
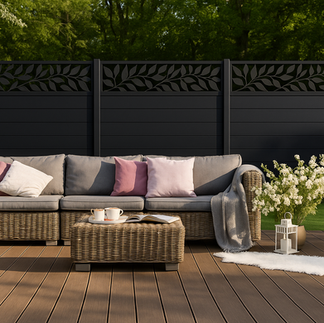
Our modular decorative fencing system has been designed for straightforward installation, allowing you to create a stylish, durable, and low-maintenance garden boundary with minimal effort. Combining premium composite fence panels with decorative aluminium trellis sections, these modular fencing kits offer the perfect balance of privacy, contemporary design, and long-lasting performance. Whether you're replacing an existing fence, creating a garden feature, or installing a new privacy screen, our step-by-step installation guide will help you achieve a professional finish. Suitable for use with composite fence posts or existing concrete posts using our fence sleeve system, our decorative fencing is designed to transform outdoor spaces quickly and efficiently.


Tools Required
Tape measure
String line
Spirit level
Spade or post hole digger
Wheelbarrow and mixing bucket (if concreting posts)
Concrete mix
Electric drill and drill bits
Screwdriver or impact driver
Rubber mallet
Safety gloves and safety glasses
Step-by-step Installation
Step 1: Prepare Your Space
Measure the area where your modular fence will be installed and calculate the number of fence panels and posts required. Remove any obstacles, vegetation, or debris and mark the position of each post using string lines and marker pegs.
Step 2: Position the Fence Posts
Place the composite fence posts at the marked locations, ensuring the spacing matches the width of your fence panels. Use a spirit level to check that each post is perfectly vertical before securing.
Step 3: Secure the Posts
Install the fence posts into the ground using concrete foundations for maximum stability. Alternatively, if you're working with existing concrete posts, our metal fence sleeve system allows decorative fencing panels to be installed quickly and securely without replacing the original posts.
Step 4: Install the Composite Fence Panels
Slide or secure the composite fence slats into position between the posts, following the recommended panel configuration. Check alignment regularly to ensure the fence remains straight and level throughout installation.
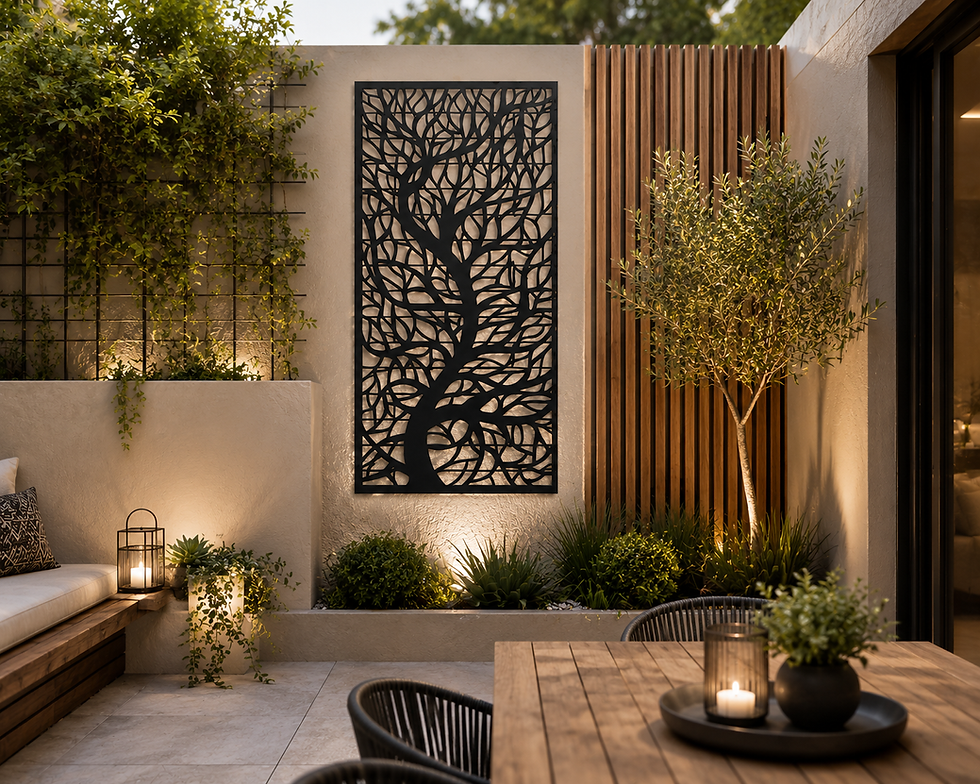
Step 5: Add the Decorative Aluminium Trellis
Position the decorative aluminium trellis section above the fence panels or wherever required within your chosen design. Secure it using the supplied fixtures and fittings, ensuring it is level and firmly fixed.
Step 6: Fit Post Caps and Finishing Components
Install the supplied post caps, post tops, end caps, and finishing trims. These finishing touches create a clean, professional appearance while helping protect the fencing system from weather exposure.
Step 7: Complete Final Checks
Inspect the entire fence installation to ensure all panels, posts, and decorative sections are securely fitted. Clean any marks from the panels and make any final adjustments as required.
Enjoy Your New Decorative Fence
Once installed, your modular decorative fencing will provide years of privacy, style, and low-maintenance performance. Combining the strength of composite fencing with the elegance of aluminium decorative panels, it's an ideal solution for modern gardens, patios, and outdoor living spaces.


Comments